Creating Music from VGM
last updated:
Finding “arranged” or “orchestrated” soundtracks to compliment a MSU-MD patched game and create a soundPack is a tideous task, so why not take the chipsound and remix it? Shouldn’t be too hard, right? Well - if you’re a musician and could play a melody just by listening then yes. If you’re like me and lack this ability you want something you can work with, a wave or midi file. Let me introduce you to some techniques how to do that:
VGM
VGM stands for Video Game Music. A VGM file is pretty much the exact same data that the console reads from a cartridge to play music and sounds. Depending on the format it contains the digitized samples, sequences and all information needed for playing it back just like the real thing. Working with VGM is very different from working with other data such as MIDI or WAVE.
You need to understand that the instructions stored in VGM are meant for the hardware that sits in the console and not for any music production tool that runs on your computer.
I came across this article by 2 Mello who covered the most important issues when creating real music from a VGM source. To sum it up, you can easily lose a song’s “feel” if you just treat vgm as input, change some instrumentation and output your creation without carefully listening to what’s going on in the VGM. Many instructions like timing, vibrato, envelopes, arpeggio are only interpretations if you convert a VGM to MIDI. You can use it as a base but it will not save you the effort to rework the song so it sounds decently.
Genesis/MegaDrive sound hardware
The console can produce sound and music with either or both sound chips, the main one being the Yamaha 2612 (FM, PCM and DAC) and the simpler Texas Instruments SN6489 (PSG or Pulse Sound Generator).
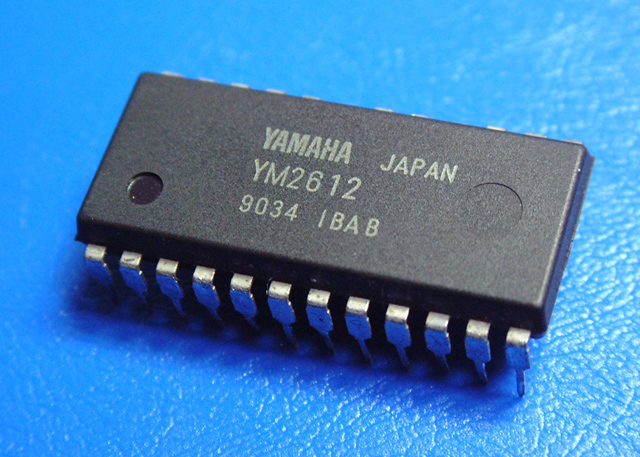
The YM2612 has the following features:
- Six FM channels
- Four operators per channel
- Two interval timers
- A sine-wave low frequency oscillator
- Integrated stereo output digital-to-analog converter (most other contemporary Yamaha FM chips require a separate external D/A - converter chip)
- Per-channel programmable stereo sound (left, right, or both left and right resulting in centre)
- For channel three, operator frequencies can be set independently, making dissonant harmonics possible. (Normally, they would have a simple relation like e.g. 2× or 3× relative to a common base frequency)
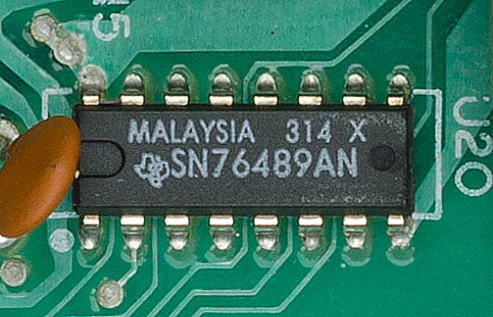
while the SN6489 adds:
- 3 square wave tone generators:
- A wide range of frequencies.
- 16 different volume levels.
- 1 noise generator:
- 2 types (white noise and periodic).
- 3 different frequencies.
- 16 different volume levels.
I think it’s important to realize these are meant for producing sound within a CPU controlled ecosystem.
Get your hands dirty with VGM
First of all you want to listen to VGM. You can use VGM players or in the MegaDrive/Genesis world you can visit Project2612 which is a collection and online player of pretty much all music in all available games.
When you download an album the files within an archive have the .vgz extension, which is .vgm in a zipped format. You can extract the files e.g. with 7zip and add the .vgm extension to the extracted files. To be able to use the provided .m3u playlist of an album, open the playlist file with a text editor and replace the .vgz extension in the list of files with .vgm so you end up having a consistant filesystem.
If you want to listen to VGM locally on your computer you need a player and plugIn. My personal choice is foobar2000, but you can use XMplay or WinAMP as well.
| Player | PlugIn |
|---|---|
| XMplay | in_vgm |
| WinAMP | in_vgm |
| foobar2000 | foo_input_vgm middle of page |
Tools of the trade
Step 1: Generating separate wave files for each sound channel
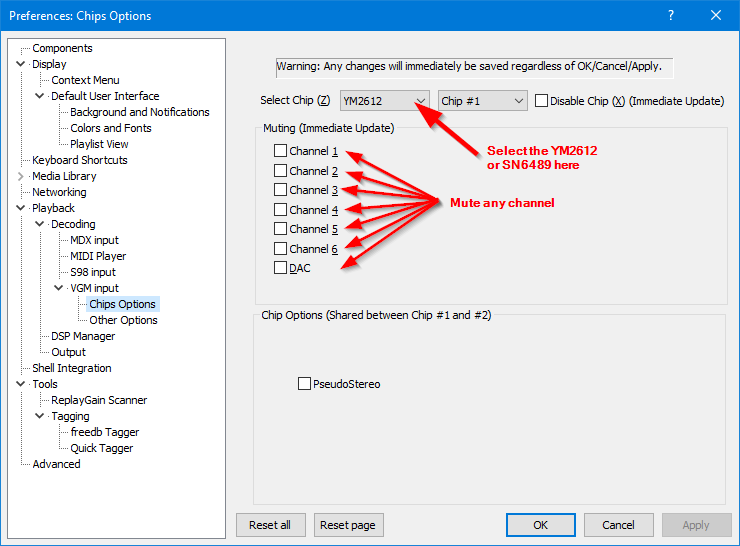
For working with any DAW (Digital Audio Workstation, the software for music production) you want to have an audio file representing to output of the console’s sound hardware, ideally split into separate channels, making it easier to arrange your music. You could do that with the available players and/or plugins, as these allow you to mute any channel while playing or recording vgm-playback:
To access this setting go to Menu -> Library/Configure/Playback/VGM input
The good news is, there’s a much faster way to record separated channels from a .vgm file. (If your file is .vgz extract it and add the .vgm extension): towave
1. Drag your .vgm file onto the towave.exe file
2. Enter a track number (1 will always do, doesn’t really matter)
3. Enter the number of seconds to record (if you downloaded from Project2612 you will find a usefull textfile within each album, listing the duration of each track)
You will end up with separate WAVE files that can be used easily with any DAW or music software.
youTube video of this process here
Step 2: Generating a MIDI file
As I mentioned earlier, the MIDI representation of a VGM file cannot match the original sound due to the fact that VGM is a pack of data for certain sound chips and MIDI (Musical Instrument Digital Interface) is a different concept, though they have enough in common to make some use of it.
I can recommend VGM2MID by Paul Jensen, though there’s a variety of tools out there that may handle certain VGM’s better. It’s always a good practise to look up the used Sound Driver that was used in the making of the game and check if there’s a better tool for the MIDI conversion. For example games that use GEMS can be converted with tools by ValleyBell.
Let’s get started, again - if you still have
.vgzfiles, extract them and add the.vgmextension. To setup VGM2MID download the Win32 binaries (full package, 2012-03-11) and overwrite its .exe file with the updated tool Win32 binaries (exe-only update, 2013-09-09)
1. Import the seperate channel recordings into your DAW and match your project’s bpm to it.
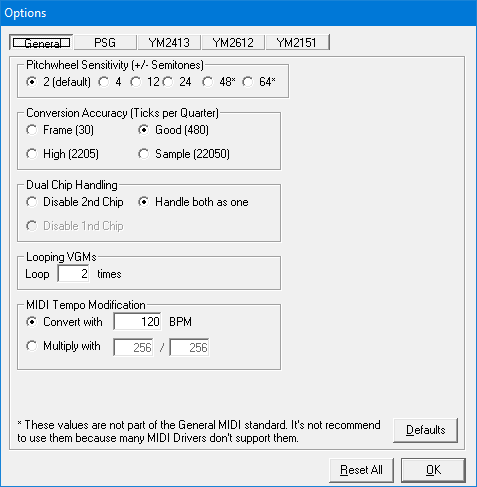
2. Open VGM2MID and click on Tools -> Options in the menu bar. Match the bpm to your project.
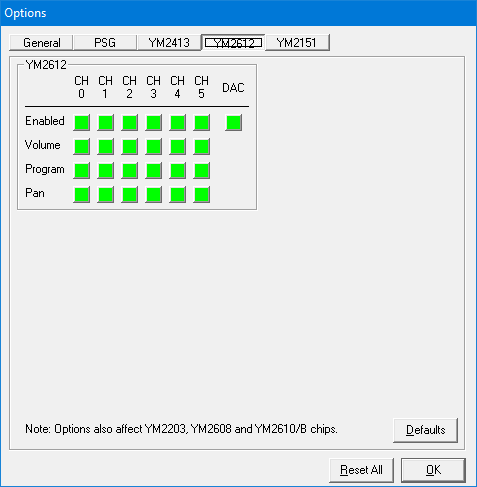
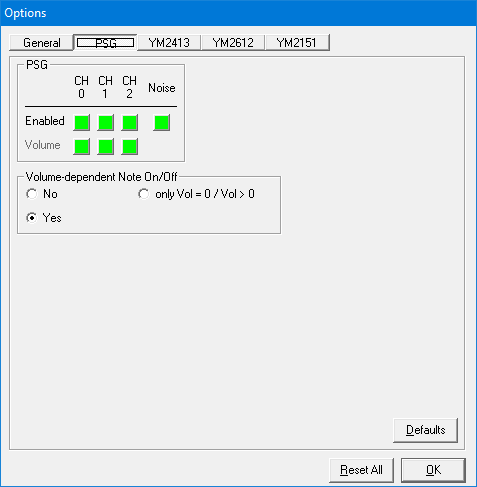
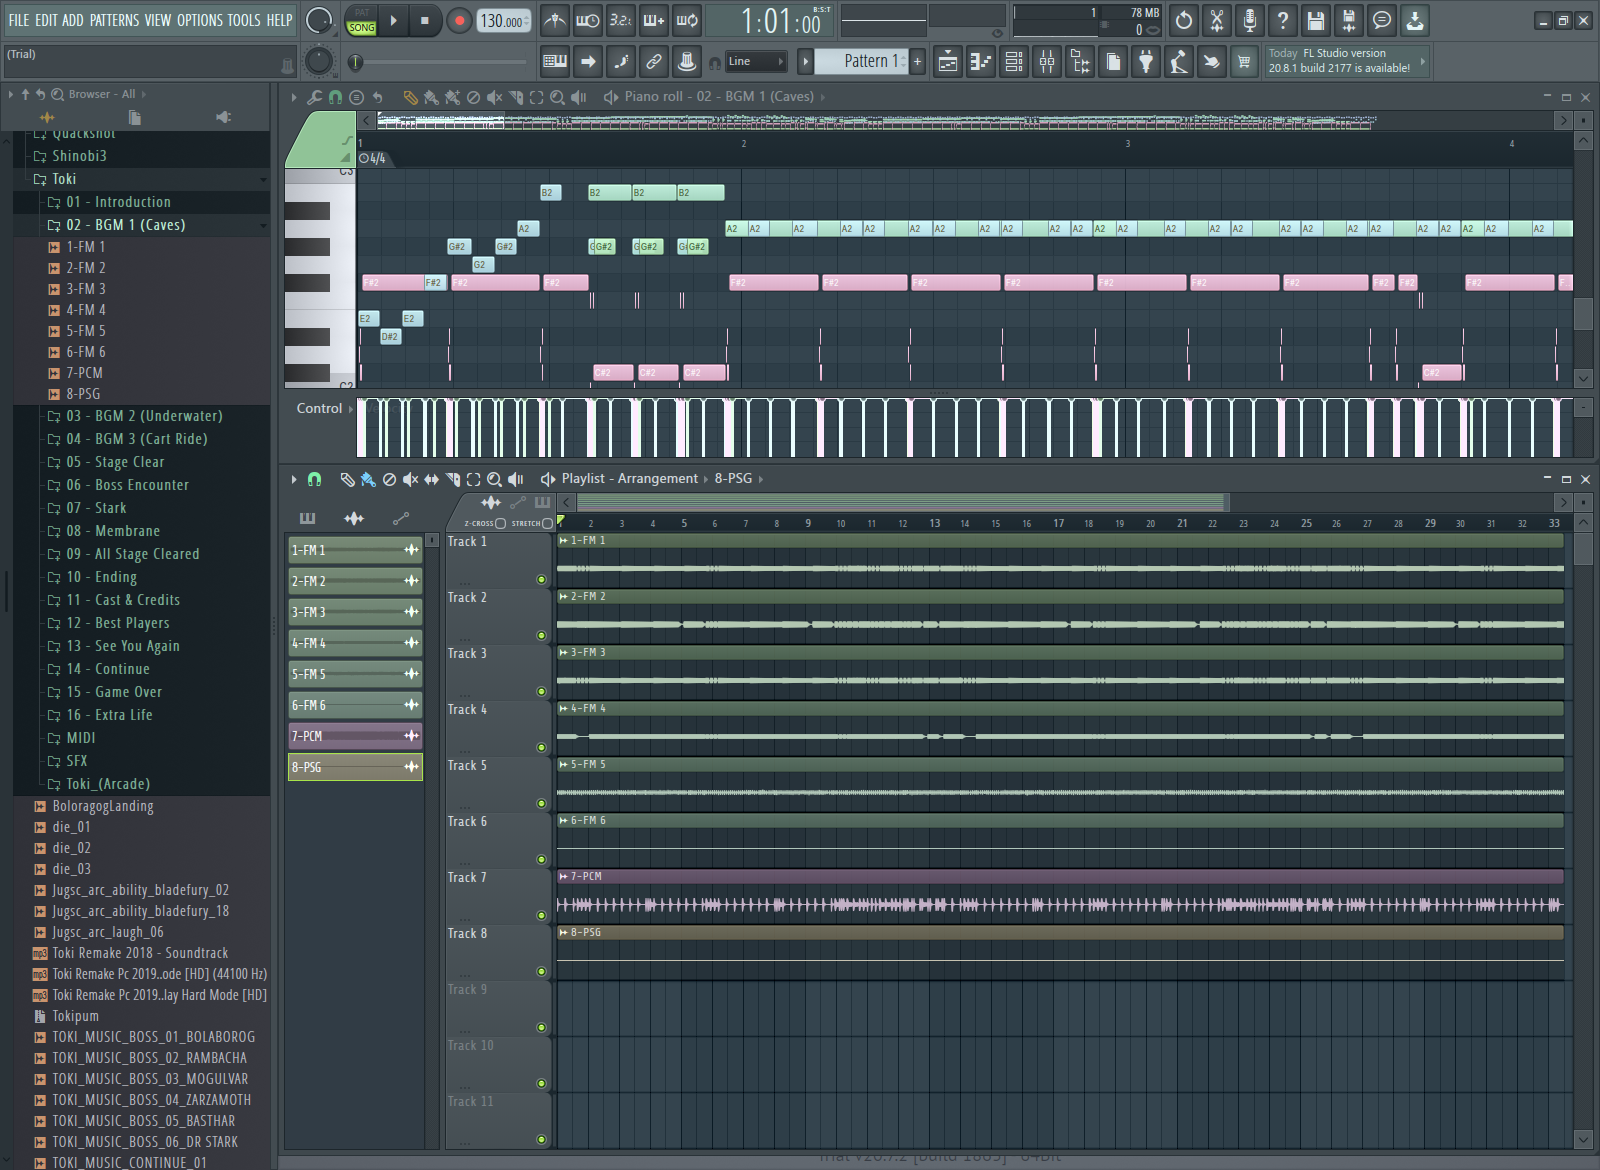
3. Depending what DAW you use, you may want to separate the channels into multiple MIDI files. You can do that by disabling other channels in the options and export several MIDIs for each channel:
4. Import the generated MIDI file into your DAW and assign instruments as you like. You will have to clean notes, delete automation or other settings depending on the result.
You can use this guide to create a skeleton or base for your music. Certainly you will have to finetune here and there or add your own ideas to it.
